Monday, 21 October 2013

Lee Friedlander Interpretations

Lee Friedlander (born July 14, 1934) is an American photographer and artist. In the 1960s and 70s, working primarily with 35mm cameras and black and white film, Friedlander evolved an influential and often imitated visual language of urban "social landscape," with many of his photographs including fragments of store-front reflections, structures framed by fences, posters and street signs.

He tried to include himself within his images somehow and most the time he did this by including shadows or reflections of himself. Like this image for example, we can see his shadow on the back of the woman in front of him: 


Here are some if my interpretations trying to use some of his techniques:

 In this image I have used reflection, but also repetition because I am reflected twice in the two mirrors. I made it so the smiley face on the Gum dispenser covers my face to give the image more of a humorous feel. Like in Friedlander's images, you can see his reflection, but not all of him and not very clearly - this is what i have interpretated in my image. 
 In this image, of another gum dispenser  I am again incorporated in the image by a reflection  but this time, it is only my hand, arm and the camera you can see as I wanted to get the sign "feed me gum" within the image as well.
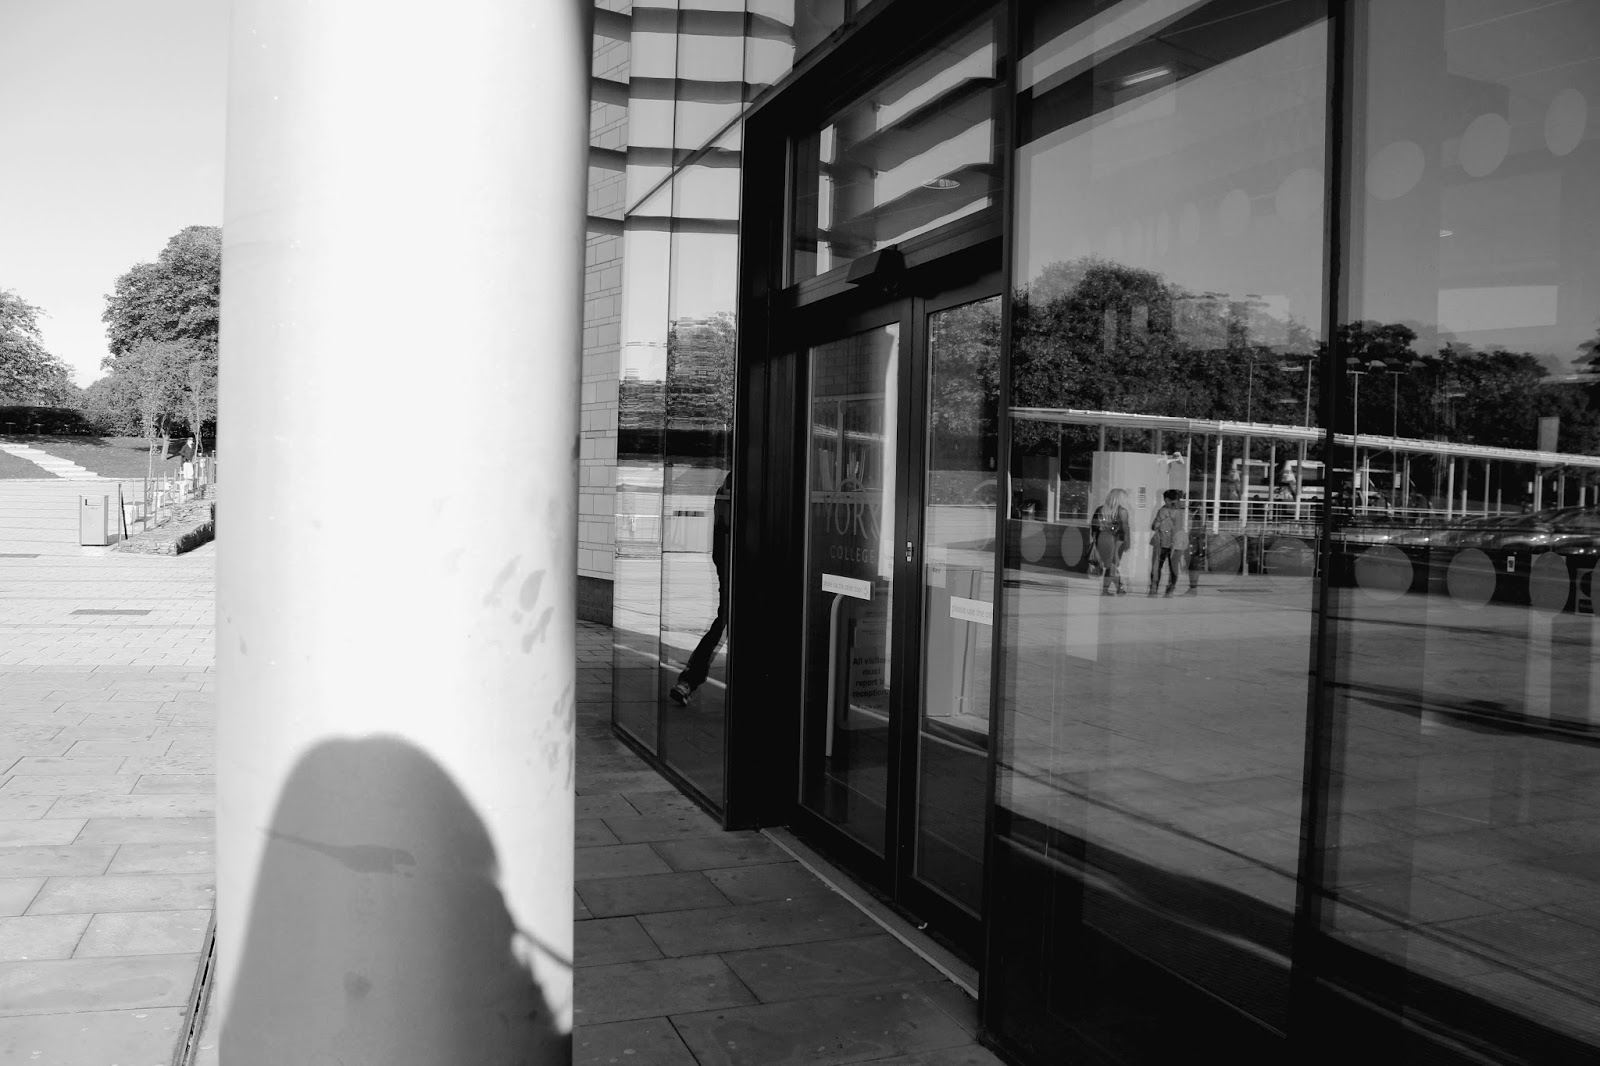
For this image, you can see a shadow of me on the pole, but I have also incorporated the reflection of people outside in the glass door. This uses two of the techniques with Friedlander used.
 This image is slightly blury this is because it is all a reflection from one of the mirrored windows outside college. As you can see i am again in the image by reflection, however you can't see my face, and this gives the image a question of identity, like Friedlander's did when they just included his shadow. 
Finally in this image we can only see a reflection of the railing in the glasss pane, but it still looks effective.

Sebastião Salgado


SebastiĆ£o Salgado (born February 8, 1944) is a Brazilian social documentary photographer and photojournalist. Salgado works on long term, self-assigned projects many of which have been published as books: The Other Americas, Sahel, Workers, Migrations and Genesis. The later three are mammoth collections with hundreds of images each from all around the world. His most famous pictures are of a gold mine in Brazil called Serra Pelada. Here are some of his images:

Here we can see one of the many images Salgado took at the Serra Pelada gold mine. This image is very powerful as you can see there are hundreds of men, climbing very steep ladders with heavy sacks on their backs.The amount of people cramped on the ladders just shows us the sheer amount of hard work these men are doing and they don't look in the best of conditions. They are wearing old rags for clothes and not very sturdy shoes, and this makes us feel more sympathy for the hard workers who are also covered in mud.

In this image we can see two men working with and oil rig. Again, the men are covered in oil and mud and don't look very happy about it. Salgado didn't ask them to pose for the photo he just took it as they were working as this gives us a clearer understanding of the work these men are doing.


Here we can see people outside their tents and again they are in shabby clothing and look like they've had a hard day or work. None of the people in this image are posing, Salgado just took it as he was walking through.


There's is a recurring theme in most of Salgado's images, they include a lot of  manual labour to show the hard work people go through each day.

Wednesday, 16 October 2013

Image Interpretations 2 (Diane Arbus)

In lesson we looked at several different photo's by artists Henri Cartier-Bresson, Diane Arbus, David Seymour and Louis Faurer. We then annotated them with what techniques we saw, such as symmetry, leading lines and rule of thirds, but we also discussed what the story could be within the image or about the people in it. In some of these images, people were looking in the lens of the camera as they were taken so suddenly. We then had to go around college and again take pictures of people, but try and include and story within the image. 


 The straight lines on the carpet and railing leads us into the woman cleaning the glass.She isn't looking into the camera lens as she is watching what she is doing. However, we can see that she has quite a miserable facial expression. Maybe she is sick of cleaning the same places around college each day. Maybe she's stuck with this job because there are no other jobs out there for her. 
 For this image, we can see a young man looking into the camera, this is because he suddenly looked up just as i was taking the image. Although he's looking into the camera, the image is still effective as he isn't pulling a face or posing. The image is also slightly blurred, this is because I took the picture so quickly that the camera didn't really focus.


                                                       This image again shows people about their everyday business. I was lucky to spot these two looking over the balcony so I quickly took a picture of them before they moved. The story behind the image is what are they looking at? I also positioned them in the centre third of the image because our eyes naturally look to the centre of an image if there isn't anything to lead us anywhere. 

Image Interpretation (Henri Cartier-Bresson)

After looking at some of Henri Cartier-Bresson's street photography, we could see that he took images of everyday life and didn't ask people to pose for his images, he just took them. Taking this and his compositional techniques into account, I went around college to take some 'sneaky' photos of people. As you'll see, I also took them in Black and White because that's the colour most of Henri's images were when using his 'old film' camera.


 Here, you can see the leading line of the bookshelf which draws us into the centre of the image, where you will see more books. The main subject is of Callum flicking through the pages of the book. I positioned the camera so that the book was in the centre third, Callum in the right third and the book shelf in the left third. 

Again I used leading lines to draw people into the image. I positioned the railing  in the centre of the image to lead us to the people looking over the balcony. The two people aren't looking into the lens of the camera which makes the image more effective because Henri took images of what was happening around him and didn't get anyone to pose for his pictures. 


 In this image you can see I took it in the middle of two people having a convosation whilst buttering their scones. Again, this captures the natural life of people that Henri used to capture.


For this image I placed the man on his iPad in the left third of the image to make it look more intersting. Henri too would place his subjects in different thirds of the image. 

Monday, 14 October 2013

Image Analysis

Henri Cartier-Bresson-Image Analysis

Henri Cartier-Bresson (August 22, 1908 – August 3, 2004) was a French photographer considered to be the father of modern photojournalism. He is known for his black and white street photography where he uses compositional techniques and geometry to tell the story of his images.


In this image, Henri has used the effects of silhouettes to draw us into the image. The silhouettes clearly stand out to our eyes because there in no detail on them, so initially we're just looking at a black shape. You could also say that Henri is using 'rule of thirds' in this image because in each third, there is something to focus on. The main thing we focus on is the man the doing the leap in the air, this is because he is in the centre of the image and closest to us. We then look at the couple in the right third of the image as they are a little further back but because the silhouette is a bold black, they stand out. Finally, we look at the Eiffel Tower and the left third of the image, this is because the silhouette is not as bold as the people and it is also the furthest away from us. 


In this image of the Berlin Wall, Henri again uses the 'rule of thirds' but also leading lines. The length of the wall makes us want to follow it into the background to see where it will lead is. This is why this technique is called leading lines because the lines leads us into something and in this case, leads us to the never ending wall. The image also follows the rule of thirds with the foreground in the left third showing us the children playing. The innocence and loneliness of the children playing also draws us into the image as we feel sympathy for them as they're not sure why the wall is there, so they incorporate the wall into their play by attempting to climb it so that they can escape. In the middle of the image we see the lonely child and in the right third we see the never ending wall with barbed wire, leading us into the un-known. 


Again in this image, Henri uses leading lines to draw us into the image. Here he uses the 'Fibonacci spiral' as the line to lead us into the centre of the image and to convey a sense of depth. It seems the main subjects are the children, but it is actually the geometry of the spiral going upwards, the children just act as an aid. Our eyes naturally follow leading lines within an image and in this case, we ignore the children as the get further away and just focus on the strong geometry shape which also acts as an illusion giving the image more depth.

Wednesday, 9 October 2013

Picture Styles, White balance and RAW vs JPEG

 Picture Styles

Picture styles are already set on the camera and you can use them to change the appearance of a JPEG image. For example you can take an image in black and white straight on the camera rather than having to change it later in post processing software like Photoshop. Advantages of using picture styles are they can be uploaded quickly and you can also preview each picture style before you take the image. Disadvantages are that the camera chooses which tones to set the black and white to and this can sometimes not make the final image look as good as if it were to be edited in post processing. Also in post processing you can change the effects to exactly how you want them, however, on the camera, there are custom picture style settings but you cant change the settings on that image once the picture has been taken. Here are some of my images using different picture styles on the camera;


 This picture I took on the Monochrome picture style setting. Black and white images are not usually starkly contrasted as black and white. They combine black and white together producing a range of shades of grey. 


For this image I used the Saturated picture style and I was able to adjust how high or low I wanted the saturation to be on the camera. I set it as high as it would go so all the colours would be very vibrant, almost giving the image a cartoon effect, however it still looking realistic.


For this image I used the custom picture style setting and I was able to adjust he saturation, colour tone and contrast myself. I set it to quite a high contrast so that the light areas in the picture would be bright. As you can see the sky is a very bright blue and fades into white on he right hand side of he image.


Colour Temperature

White balance (WB) changes the colour temperature of the image, you can make the image look cold, warm or natural depending which setting you have it on. WB/colour temperature  is measured in Kelvin (K), for example daylight WB is around 5200K and tungsten (indoor light) is around 3200K. If you set the WB to lower than it should be depending what colour temperature you're in,  then the colours in the image won't come out correctly as the whites won't come out white. However, using different setting can sometimes make an image look more appealing, for example if you wanted to give an image a warm feeling for effect. Here are three of my images that show different colour temperature: 


For this image I set the white balance to 'cloudy' so that it would have a hint of blue giving it a cold effect.


For the next image I wanted it to look quite warm, so i set the white balance to 'tungsten', giving the image those warm yellow colours.
 
 
For the final image I wanted it to have a natural colour temperature so I used the 'daylight' white balance setting because the environment I was shooting in had a bright natural light source.


RAW vs JPEG

A RAW image is an untouched and uncompressed file. It contains all the information recorded when the image is taken and allows for changes such as picture style and white balance in later production.

A JPEG image is standard format and has a compressed file which saves space but however lacks quality. Also every time you save the file, it loses quality.

For example if you took a black and white image using JPEG you wouldn't be able to change the white balance or picture style. But if you took an image using RAW you would be able to change the white balance, picture style, exposure etc in later production.

However, RAW files are not readily viewable when uploaded onto the computer, they can only be used by certain software as they require a codac (a package that reads all the information of the file and displays the image as it is). Software such as Adobe Photoshop or Bridge are need to view and edit the RAW images. Here is my example of how you can edit a RAW image:


Here is the original RAW image and as you can see it is a little over exposed and has quite a cold look to it.


Using Photoshop I was able to adjust the look of the image my self. I used scales to increase or decrease effects such as white balance, exposure, contrast and saturation.

Monday, 30 September 2013

Composistion and Framing

Using Manual mode, we experimented different framing techniques we could use to create more interesting images.Here are four techniques I used:

Leading Lines
Here the line of the bus shelter roof and the straight line of trees next to it  draw you into the centre of the image. This technique is called 'leading lines' as you want to follow the lines in the image to see where they lead you.


Rule of thirds (portrait)
This portrait image of Callum uses the 'rules of thirds', as he and the tree are over to the left of the portrait. For this technique, you can set a 3x3 grid to come up on the camera screen and by placing the main object on one of the thirds (usually the left or right) it makes it look more interesting than it would be if the main subject was in the centre.

You can also place subjects on the intersection points (shown by he red circles on the grid below). For example, if you were taking a head shot, you would place an eye on one of the top corner intersecting points to make the image look more interesting. 


Symmertrical
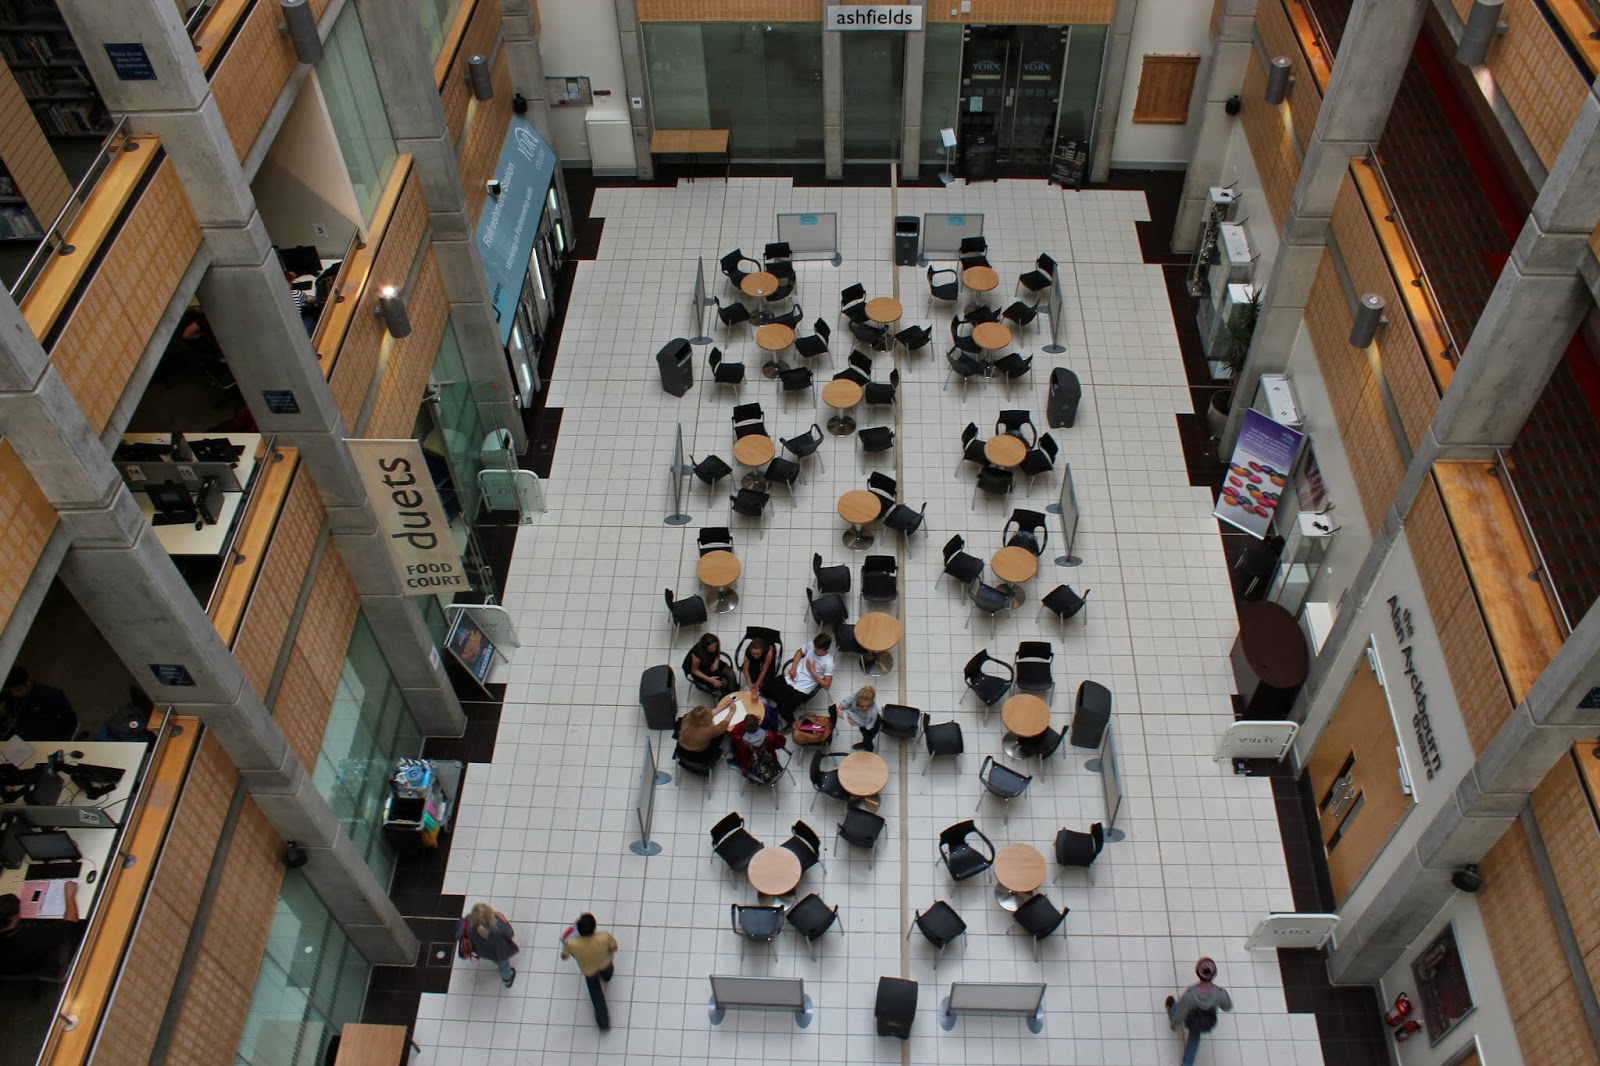
Here we can kind of see that if you were to split the image in half, each half would be the same. For this image, it's the tables and chairs and walls of the college that would make the image look symmetrical. You can also do identically symmetrical images.


Framing
This gives the subject more interest by using depth. Here we can see Callum in the distance, but in front of him, we can see out of focused leaves and branches. This adds depth to the image and makes the viewer feel like they are in the image because they get the illusion that they are stood right behind the leaves and branches.


Here are some of the images Callum took of me using some of the above techniques;